Switches on Power Wheels ensure continuous power supply to the electric components for smooth functioning. You may experience different performance issues with your kids’ power wheel switch malfunctioning. It is necessary to fix the issue immediately to enjoy a comfortable ride. How to repair switches on Power Wheels? Stay here, I will explain everything to solve the issue quickly.
Repair Switches on Power Wheels- [Step by Step Guide]
Repairing switches on power wheels is pretty simple if you follow the instructions below.
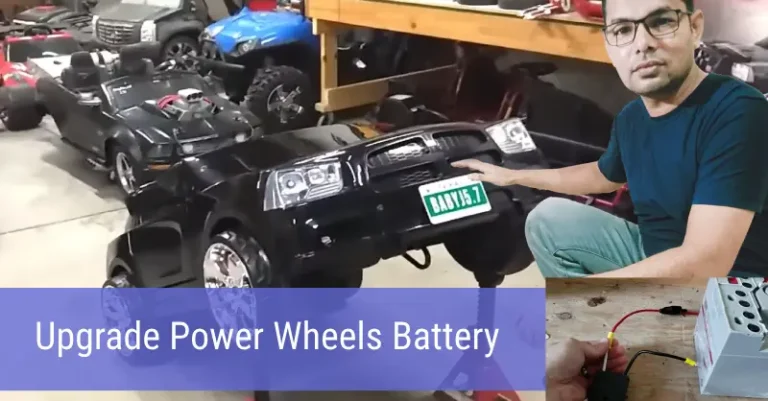
Step 1: Disconnect the battery
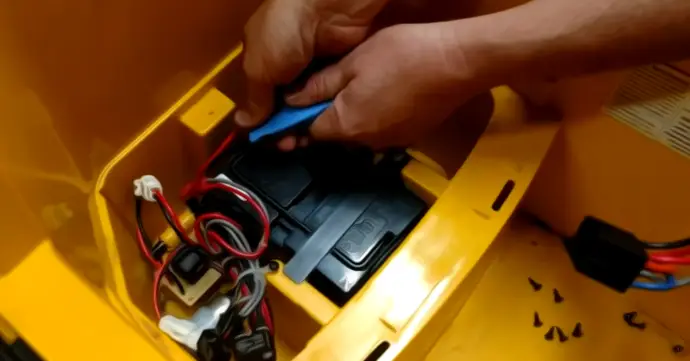
Disconnect the power wheels ‘ battery before starting the switch repair task on your power wheels. Access to battery compartments and disconnect terminals. It is also good to check for debris or dirt around the battery, if there is, clean it.
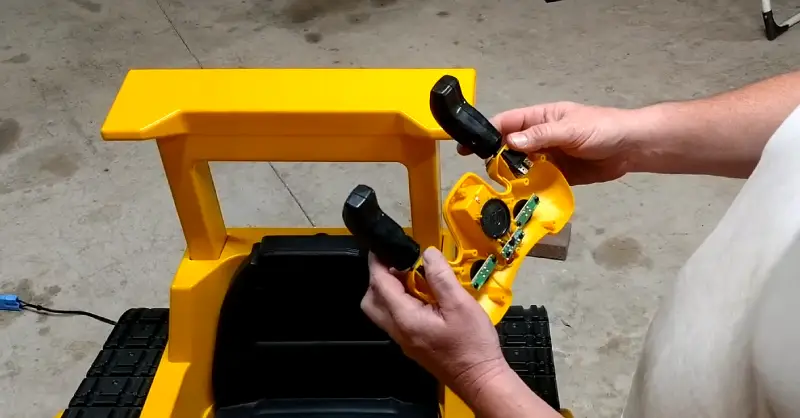
Step 2: Disassemble Power Wheels
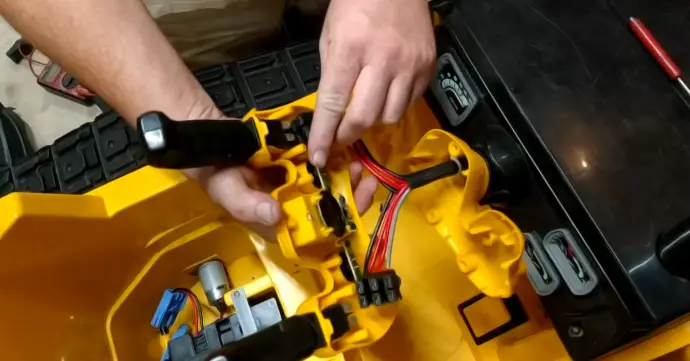
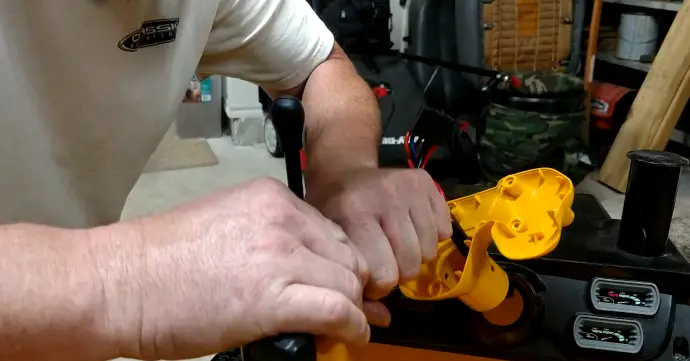
You will need to disassemble the power wheels to access the switches on the power wheels. It must remove several parts, such as the steering wheel and control panel. But when you remove any parts, remember its screws and parts to reassemble them worry-free.
Step 3: Access the Switches
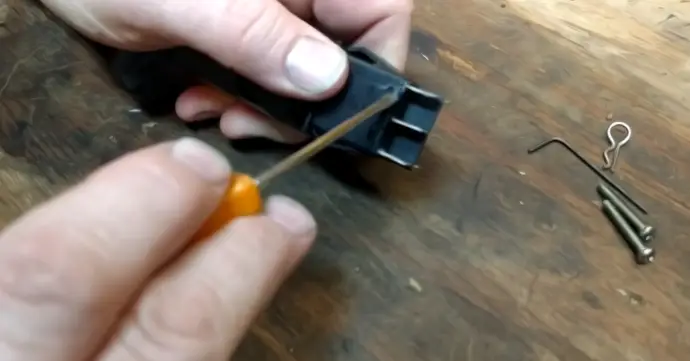
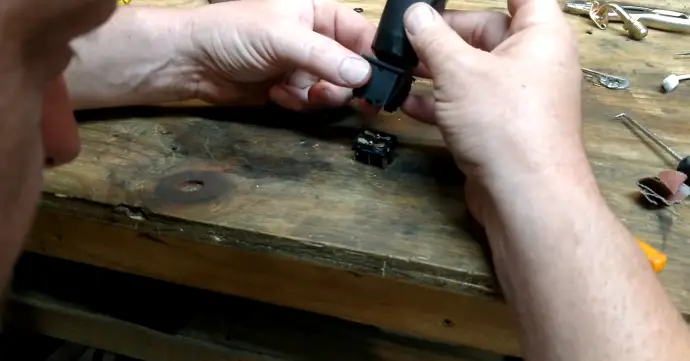
You will notice four mounting tabs holding the switches’ internals. Gently open one of the tabs to access the switches’ internal components.
Step 4: Clean the Switches
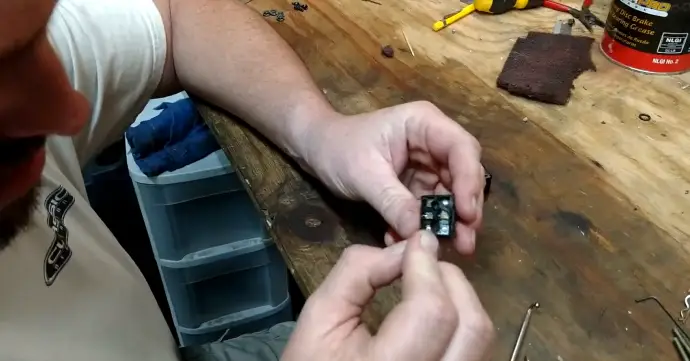
The main issue with these switches is corrosion on the contact points. Use a small sandpaper to gently clean the four contacts on both sides of the switch. It may help to solve the conductivity issue.
Step 5: Lubrication
Now lubricate the switch’s internal parts, you can apply axle or wheel bearing grease. I recommend Dielectric Silicone Grease for the power wheel switch. Avoid applying too much grease.
Step 6: Install the switch
Then, take the replacement switch and install it. But before installing the switch, ensure the springs are correctly placed and the control handle is in the center.
Step 7: Test Continuity
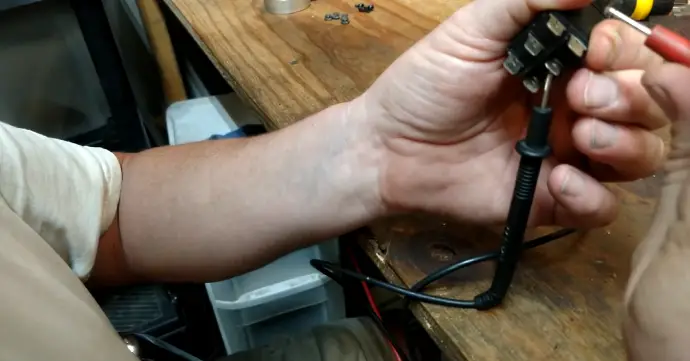
Take a voltmeter and connect it to the switch terminals. Check the continuity and ensure there is no continuity issue. For accuracy, I recommend the INNOVA 3320 Auto-Ranging Digital Multimeter.
Step 8: Reassemble
Once the switch passes the continuity test, reassemble the steering wheel and control panel. Make sure everything is reinstalled properly.
Step 9: Test the Functioning
Reconnect the power wheels battery and switch on the power wheels. Move the vehicle forward and reverse to ensure no issue with the power wheel switches.
FAQs
1. How Often Should I Clean the Power Wheels Switches to Prevent Future Malfunctions?
It depends on your environment. If there is moisture, you must check and clean them after 6 months. But in a dry environment, it is okay to check once a year.
2. How can I Check If the Repaired Switches Function Correctly without a Voltmeter?
You can connect it to a device, such as an LED bulb. If it illuminates, your repaired switch is working fine.
Conclusion
Faulty switches can make your power wheels’ performance adverse. It is a must to repair switches on power wheels for good performance. Repairing switches on power wheels can be easy if you have the right tools and follow the correct instructions.