A ride-on toy has several switches for controlling electrical system functions. Switches control steering, forward/reverse pedal, and other electrical components. If a switch goes bad, you cannot access the related function. It needs replacement to get back to its functions. How to replace 12V ride on toy switches? I will teach you step-by-step how to replace the switches on a 12V ride-on toy.
How to Replace 12V Ride on Toy Switches- [ Easy Guide]
Things You Need:
It is good to collect all the required tools before replacing the switch for smooth job completion. You only need a screwdriver or the switches which need replacement.
Step 1: Disassemble the Toy

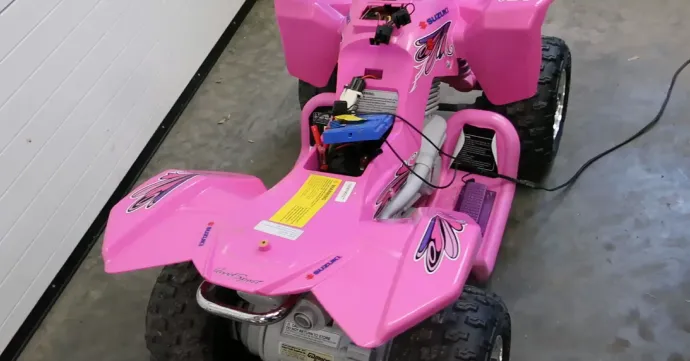
To replace the 12V ride-on toy switches, you do not need much disassembling because most vehicles have separate compartments for the switch. It is usually located near the steering wheel. Remove the bolts securing the compartment.
Step 2: Identify the faulty switch

Usually, the ride-on toys have two switches, one for controlling speed and another for controlling reverse or forward movements. After removing the cover, you will see these two switches.
Inspect them physically for blown, worn, or damaged switches. You can easily identify the faulty switch.
Step 3: Remove the old switch

Once identified the faulty switch is identified, unscrew the faulty switch bolts. After removal of all screws, gently remove the faulty switch. Do not apply too much pressure. It may cause damage to other parts.
Step 4: Mount the new switches
Now mount the new switches onto the place of the old switches. Replace with a compatible switch, you can also buy locally, which may cost you $12 to $15. I recommend Power Wheels 74310-9239 Shifter Switch Assembly for excellent performance. While securing, ensure the switches are secured properly, and there is no loose bolt.
Step 5: Reassemble the Toy
Once the switch is mounted, put back the compartment cover and secure it with bolts. Ensure you have tightened the bolts enough. Loose bolts may cause quick wear and tear due to water or moisture penetration.
Step 6: Test the Function

Finally, test and ensure the switch is working fine. Switch on the ride-on toy and check it by running it at different speeds. Also, check it by forward or reverse movements. If everything is okay, you have done your job.
FAQs:
Is there Any Fuse for the Power Wheels?
Yes, the modern power wheels have a 25 amp fuse into the battery. However, your ride on toy may not have. For a better understanding, read the instruction manual.
How to Take Care of Power Wheel Switches?
The power wheel switches do not need much care. But if you take care, it can prevent you from future worries. Ensure the switch compartment is tight and prevent it from leaving in the open environment in winter or the rain.
Conclusion
The switch replacement on a 12 V ride on toy is easy. You can complete this job in 10 to 15 minutes if you have the screwdriver and replacement switches. But ensure that you have read the instructions and follow these instructions strictly to avoid damage.


